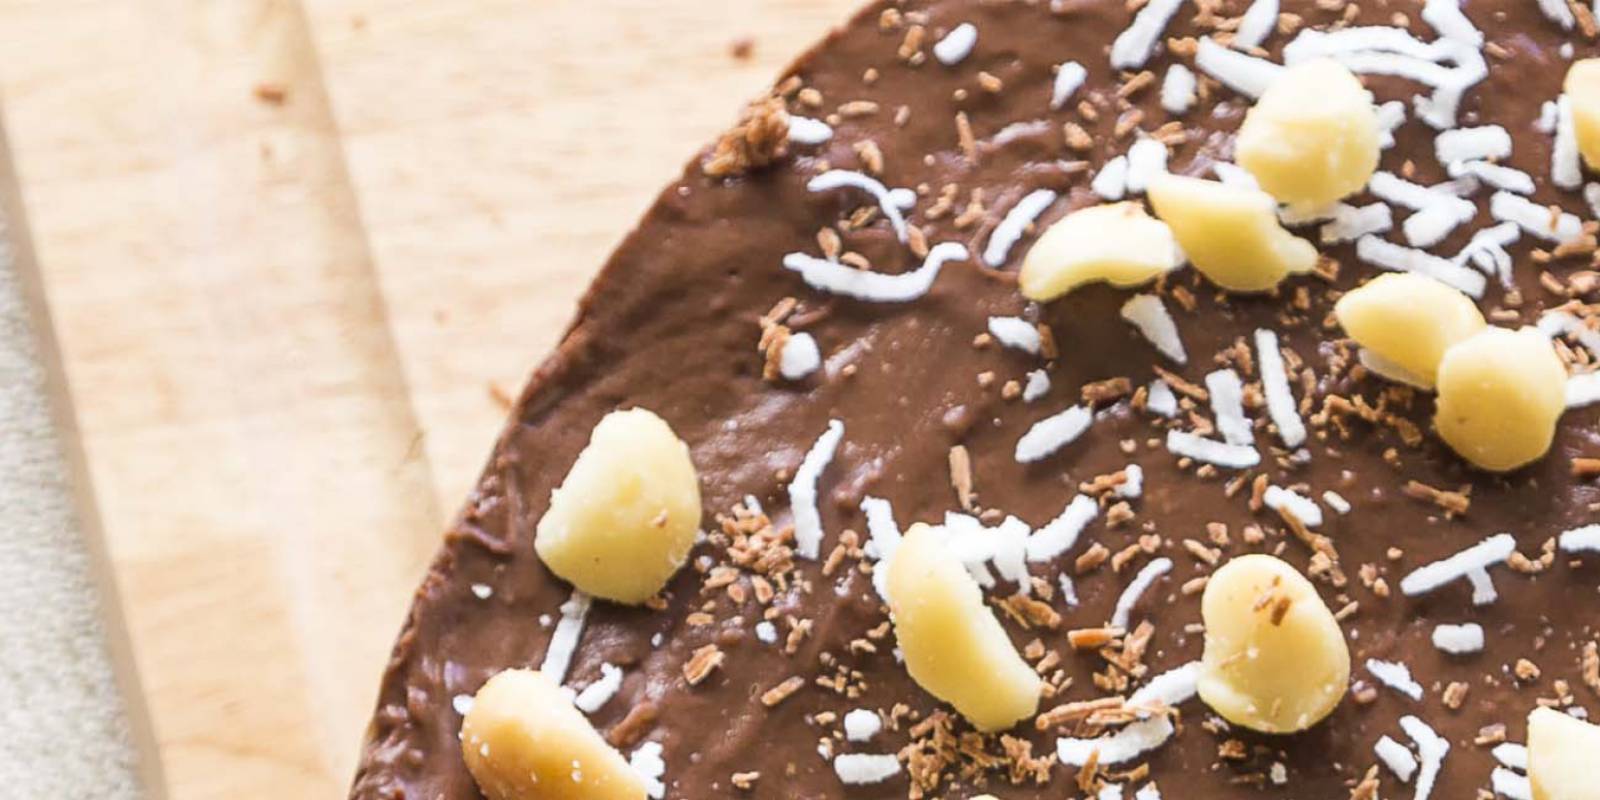
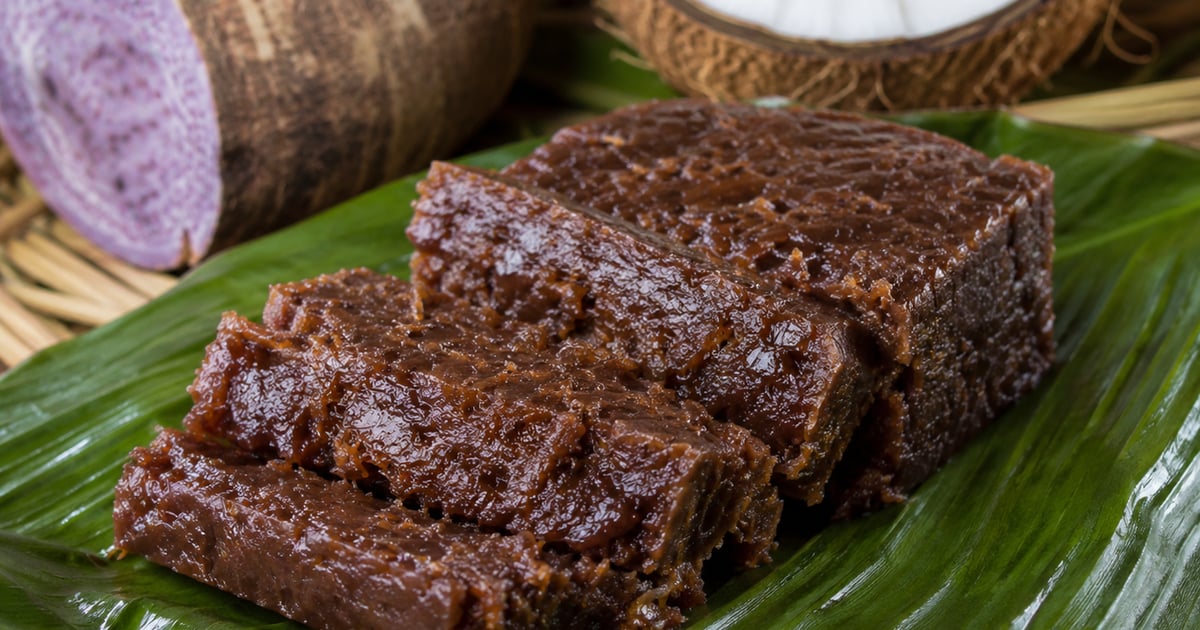

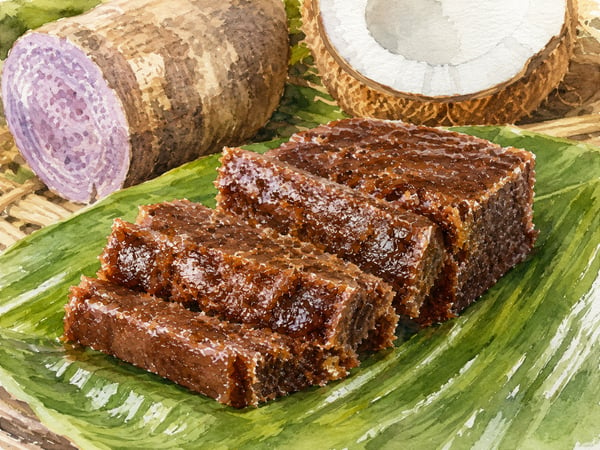
This kulolo recipe is built on two ingredients: grated kalo (taro) and grated mature coconut, bound with a little coconut milk and slow-cooked for hours until the starches and oils set into a dense, chewy slab somewhere between fudge, mochi, and Indian halwa. Kulolo is a Native Hawaiian dessert that predates sugar in the islands; the original preparation drew its sweetness from the taro itself and the cream of mature coconut, with brown sugar a later addition (Wikipedia: Kūlolo).
Traditionally kulolo was wrapped in ti leaves and steam-cooked in an imu, the underground oven, alongside kalua pig and laulau. The home version in this recipe uses a covered baking dish in a low oven for three to four hours. The tight foil seal traps the moisture and mimics the imu's steam, which is why some cooks still call kulolo a steamed pudding even when it goes in a conventional oven. You get the same deeply browned top and that singular chewy density. If you have never had kulolo before, the closest reference points are coconut-and-taro mochi or a very thick Filipino bibingka, though neither captures the smoky, almost-savory edge the long bake produces. It is the kind of dessert that improves on day two, once it has firmed up enough to slice cleanly.
At a glance
One 9-inch square (12 small squares)
30 minutes
3 to 4 hours in a low oven
Moderate (long bake, hands-off)
Ingredients
For the kulolo
- 3 lb raw taro (kalo), about 2 large or 3 medium corms, peeled
- 1 large mature coconut, grated (about 2 cups packed), or 2 cups frozen grated coconut, thawed
- 1 can (13.5 oz) full-fat unsweetened coconut milk
- 3/4 cup packed dark brown sugar (or to taste; see notes)
- 2 tablespoons unsalted butter or coconut oil, melted, plus more for the pan
- 1/2 teaspoon Hawaiian sea salt
- 1 teaspoon vanilla extract (optional, modern addition)
For lining (traditional)
- 6 to 8 ti leaves, ribs removed, blanched briefly to soften, or substitute parchment paper
Equipment
- Box grater or food processor with grating disc
- 9-inch square baking pan
- Heavy aluminum foil for sealing the pan
- Rubber gloves (raw taro can irritate skin)
- Sharp knife for slicing
To serve
- Plain, cut into small squares, room temperature or cold
- A spoonful of fresh haupia alongside, optional
- Black coffee or Kona coffee, on the side
Method
- Wear gloves to handle the taro. Raw taro contains calcium oxalate crystals that irritate bare skin and can cause an itchy rash. Cooking breaks the compound down, so the finished kulolo is completely safe to eat. Wear rubber gloves to peel and grate.
- Peel and grate the taro. Peel the corms with a sharp paring knife; the skin is tough. Cut each corm into chunks and grate on the medium holes of a box grater, or pulse in a food processor until you have a fine, slightly sticky meal. You want a damp, sandy texture, not a paste. You should have about 5 cups.
- Mix the batter. In a large bowl, combine the grated taro, grated coconut, coconut milk, brown sugar, melted butter, salt, and vanilla. Mix thoroughly with a wooden spoon. The mixture will be thick and gritty. That is correct.
- Line the pan. If using ti leaves, lay them across the bottom and up the sides of the pan, overlapping, like you are basket-weaving a liner. If using parchment, cut a square large enough to overhang the sides by 2 inches. Grease the leaves or parchment lightly with butter or coconut oil.
- Pack the pan. Press the batter firmly into the lined pan, smoothing the top with the back of a spoon. The slab should be about 2 inches thick. Cover the pan tightly with heavy foil. A tight seal is what allows the kulolo to steam-bake without drying out.
- Bake low and slow. Bake at 325°F for 3 to 4 hours. Do not peek for the first 2.5 hours. At the 3-hour mark, lift a corner of the foil and look: the surface should be a deep mahogany brown and feel set when pressed gently. A toothpick inserted in the center should come out clean of raw batter, though some sticky residue is fine.
- Cool completely. Remove from the oven, leave the foil on, and let the pan cool to room temperature for at least 2 hours. The kulolo continues to firm up as it cools. Slice only when fully cold. Warm kulolo crumbles; cold kulolo slices like fudge.
- Slice and serve. Cut into small squares. Kulolo is rich and a 2-inch piece is a generous portion. Store any leftovers wrapped tight in the refrigerator for up to a week. The texture and flavor both improve over the first 2 to 3 days.
Notes from a local cook
Cold, completely. Trying to slice or eat kulolo while it is still warm is the most common mistake. Hot kulolo is loose, oily, and falls apart. Cold kulolo has the chewy, dense, fudge-like consistency the dessert is famous for. Bake it the day before you plan to serve it if you can; the texture on day two is markedly better than day one.
Find real Hawaiian taro if you can. Frozen grated taro and fresh taro corms are stocked at Asian markets and Hawaiian grocery sections on the mainland. Filipino markets often carry frozen grated taro labeled "gabi," but make sure you're buying plain taro, not the purple ube variety. Same plant family, different cultivar, different flavor. In my own kitchen, fresh taro from Maui or Hanalei produces a deeper, more savory result than the cheaper grocery-store stuff, but both work. Use what you can actually get.
Sweeten with restraint. Pre-contact Hawaiian kulolo had no added sugar at all; the sweetness came from the natural sugars in mature coconut and from the taro itself, which sweetens during the long cook. The 3/4 cup of brown sugar in this recipe is a modern compromise. With great taro and great coconut, I cut the sugar to 1/2 cup or even 1/3 cup and the kulolo still tastes plenty sweet to me. Most commercial versions are oversweetened for my taste.
Ti leaves are not just decoration. Lining the pan with ti leaves is a traditional Hawaiian technique that imparts a subtle vegetal note as the kulolo bakes, the same flavor laulau picks up from being wrapped. Parchment paper works in a pinch but tastes neutral. If you can source ti leaves from a Hawaiian grocer, do.
While You're on the Islands
Eat it made by someone else. If you're on Kauai, Hanalei Taro & Juice Co. sells fresh kulolo from the Haraguchi family farm in Hanalei — the Haraguchi family has been farming taro in Hanalei for generations and the family's roadside stand is the kulolo benchmark most other versions get compared to. On Oahu, Helena's Hawaiian Food in Kalihi is worth checking for it on the dessert side of the menu — call ahead, since kulolo isn't always on the daily rotation. Highway Inn in Kakaako and Waipahu also stocks kulolo when fresh taro is coming in; call ahead if you're making a special trip, since availability depends on the supply. For more on Hawaii's dessert traditions, see our guides to Hawaiian luaus and Hawaii Eats.
Buy the ingredients fresh. Fresh taro corms from Hanalei or Maui farms are sold at the same farm stands above, and they make a noticeably more savory kulolo than the frozen grated taro from a regular grocery store.
Bring It Home
What to stock up on before you fly home: frozen grated taro doesn't travel well in a suitcase, but a vacuum-sealed bag of frozen grated taro is sold online and ships frozen if your local Asian or Hawaiian grocer doesn't carry it.
What you can substitute, what you can't: Filipino markets often carry frozen grated taro labeled "gabi" — same plant, fine substitute. Just make sure you're buying plain taro and not purple ube, which is a different cultivar with a different flavor entirely. Ti leaves for lining the pan don't have a good substitute (parchment paper works but tastes neutral), so don't sweat sourcing them if you can't find a Hawaiian grocer near you.
Where to try this in Hawaii